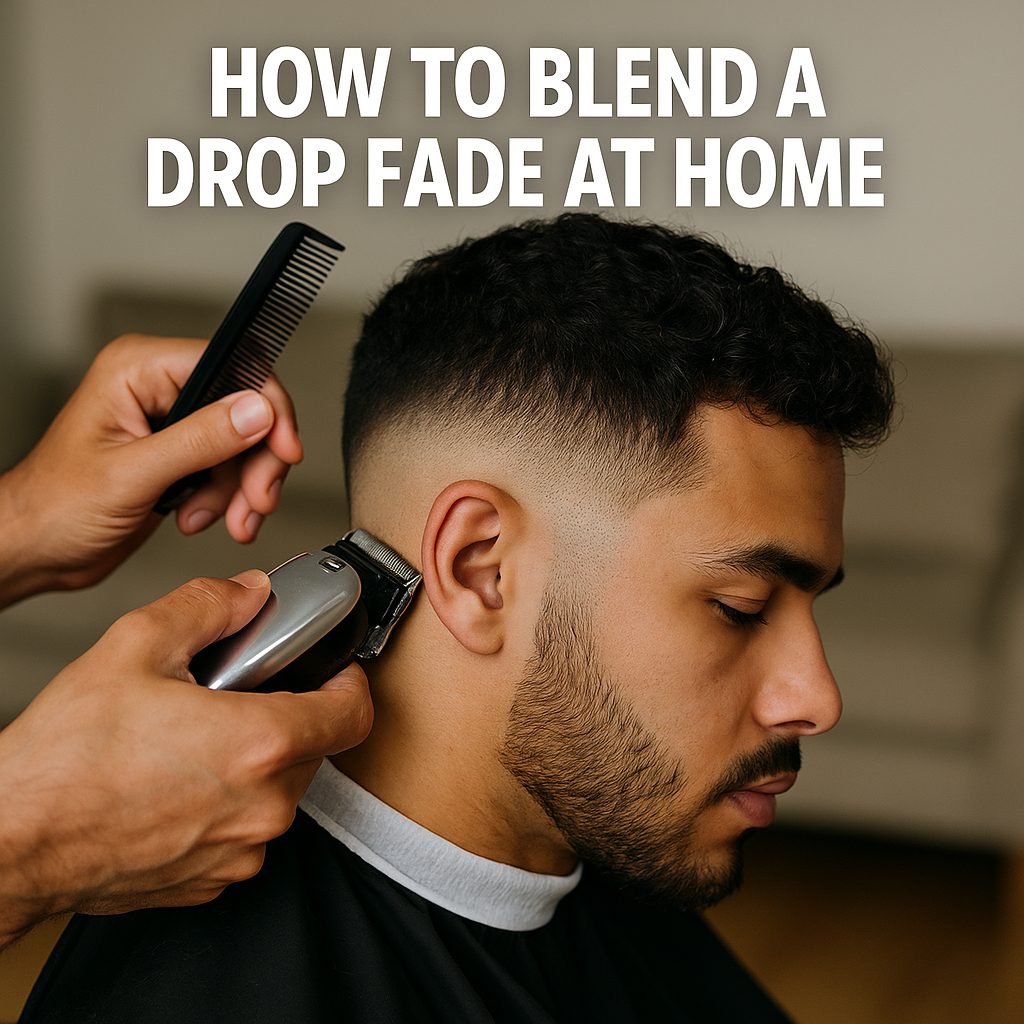
How to Blend a Drop Fade at Home | A Complete Comprehensive Guide
Introduction to Drop Fades
So, you’ve seen those sharp, stylish drop fades and thought—“I want that look.” The good news? With the right tools and a little patience, you can absolutely do it yourself at home. A drop fade isn’t just a haircut—it’s a statement. It combines clean edges with a smooth transition that makes your hair look polished yet modern.
What is a Drop Fade?
A drop fade is a haircut where the fade line “drops” behind the ears, following the natural curve of your head. Unlike a regular fade that’s more straight, this one creates a rounded effect that looks sleek and stylish.
Why Drop Fades Are Popular
Drop fades add depth and definition. They highlight the shape of your head, make your hairstyle pop, and give you a sharp yet versatile look. Whether you’re rocking curls, waves, or straight hair, a drop fade fits right in.
Can You Really Do It at Home?
Yes—you don’t need to be a pro barber. With a good clipper, some practice, and a step-by-step approach, you can get a clean fade without leaving your house (or emptying your wallet).
Tools and Materials You’ll Need
Before you start buzzing away, you need the right gear. A drop fade isn’t something you want to attempt with rusty clippers or poor lighting.
Essential Clippers
Invest in a decent clipper with adjustable blades. Cordless ones are easier to maneuver, especially when you’re working around the back of your head.
Guards and Attachments
Guards are your best friends here. You’ll use different sizes to gradually blend from short to long. Think of them as the “paintbrushes” of your haircut.
Scissors and Comb
You’ll need scissors for detailing and cleaning up stray hairs. A sturdy comb helps in guiding your cuts and ensuring even blending.
Mirror Setup for Better Visibility
A two- or three-way mirror setup is ideal. If you can see the back and sides clearly, you’ll avoid awkward patches.
Preparing Your Hair for a Drop Fade
A successful fade starts before the clippers even touch your head.
Wash and Dry Before Starting
Clean hair is easier to cut. Wash and dry it fully so clippers don’t get stuck or tug.
Detangling and Sectioning
Run a comb through your hair to remove knots. If your hair is thick, sectioning can make the process smoother.
Understanding Your Hairline and Head Shape
Not every drop fade will look the same. Study your hairline and the natural curve of your head—it’ll guide where you should drop the fade.
Step-by-Step Guide to Blending a Drop Fade
Alright, time for the fun part. Here’s the exact process to nail a drop fade at home.
Step 1 – Map Out the Fade Line
Decide where your fade will start. Use the clippers (without guards) to lightly trace the line around your head, dropping it slightly behind the ears.
Step 2 – Start with the Base Fade
Using the lowest guard, begin trimming the area below your mapped line. This creates the foundation of your fade.
Step 3 – Create the Drop Curve
Follow the curve of your head as you move behind the ears. Remember: the fade should “drop,” not stay straight.
Step 4 – Blend with Different Guards
Switch guards gradually (e.g., #1, #2, #3). Work upward in layers, flicking out at the end of each stroke to avoid harsh lines.
Step 5 – Use Scissors for Detailing
Clippers do most of the work, but scissors help refine. Snip away stray hairs and soften any visible lines.
Step 6 – Taper the Edges
Clean up the sideburns, neckline, and around the ears. This adds that crisp, professional finish.
Common Mistakes to Avoid
Even with guidance, mistakes happen. Here’s what to watch out for.
Going Too High with the Fade
If you cut too far up, you risk losing the drop shape. Always follow the mapped line.
Forgetting to Blend Properly
Harsh lines ruin the look. Take extra time blending with intermediate guard sizes.
Rushing the Process
Patience is everything. A rushed fade almost always ends in regret.
Tips for a Cleaner Blend
Want that flawless barber-shop quality? Keep these tricks in mind.
Use the Flick-Out Motion
Don’t just press the clippers straight in—flick out at the end of each pass. This creates smoother transitions.
Work in Good Lighting
Bad lighting hides mistakes. A bright, well-lit room helps you catch uneven spots.
Take Your Time with Each Layer
Think of it like shading a drawing. The more gradual your layers, the smoother the final look.
Maintaining Your Drop Fade at Home
A fade looks best when it’s fresh, but it doesn’t have to fade away (pun intended) too quickly.
How Often Should You Touch It Up?
Every 1–2 weeks is ideal. The sharper the fade, the faster it grows out.
Recommended Products for Styling
Pomades, gels, or matte clays can help style the top. A little product goes a long way in keeping the overall look neat.
When to Visit a Professional Barber
If you want a drastic change, need correction, or just feel stuck—there’s no shame in seeing a pro.
Conclusion
Blending a drop fade at home might sound intimidating, but once you break it down, it’s just about patience, practice, and the right tools. With a steady hand and some confidence, you’ll walk away looking like you just stepped out of a barbershop—without the price tag.
FAQs About Blend a Drop Fade at Home
Can beginners really master a drop fade at home?
Yes! With practice and proper tools, beginners can achieve a clean fade. Start slow and improve over time.
How long does it take to do a drop fade?
On average, 30–45 minutes. Faster with experience.
What clipper size is best for blending?
Usually, #1–#3 guards work best for smooth transitions.
How do I fix mistakes while fading?
If you cut too short, you may need to lower the rest of the fade to match. Scissors can also soften harsh lines.
Is a drop fade suitable for all hair types?
Yes—straight, curly, or wavy hair all work well with a drop fade. The blending process just varies slightly.